Using Fauna with Begin.com
Begin.com is a serverless application host with a focus on ease of development. Apps built with Begin follow a standard package format allowing them to be managed by Begin.com or deployed to the developer’s own AWS environment. In this post, I’ll show the process I went through to build a new Begin app, and use it to query Fauna Serverless Cloud. The takeaway is how easily Fauna connects with serverless applications.
Step 1: Deploy the Begin starter app
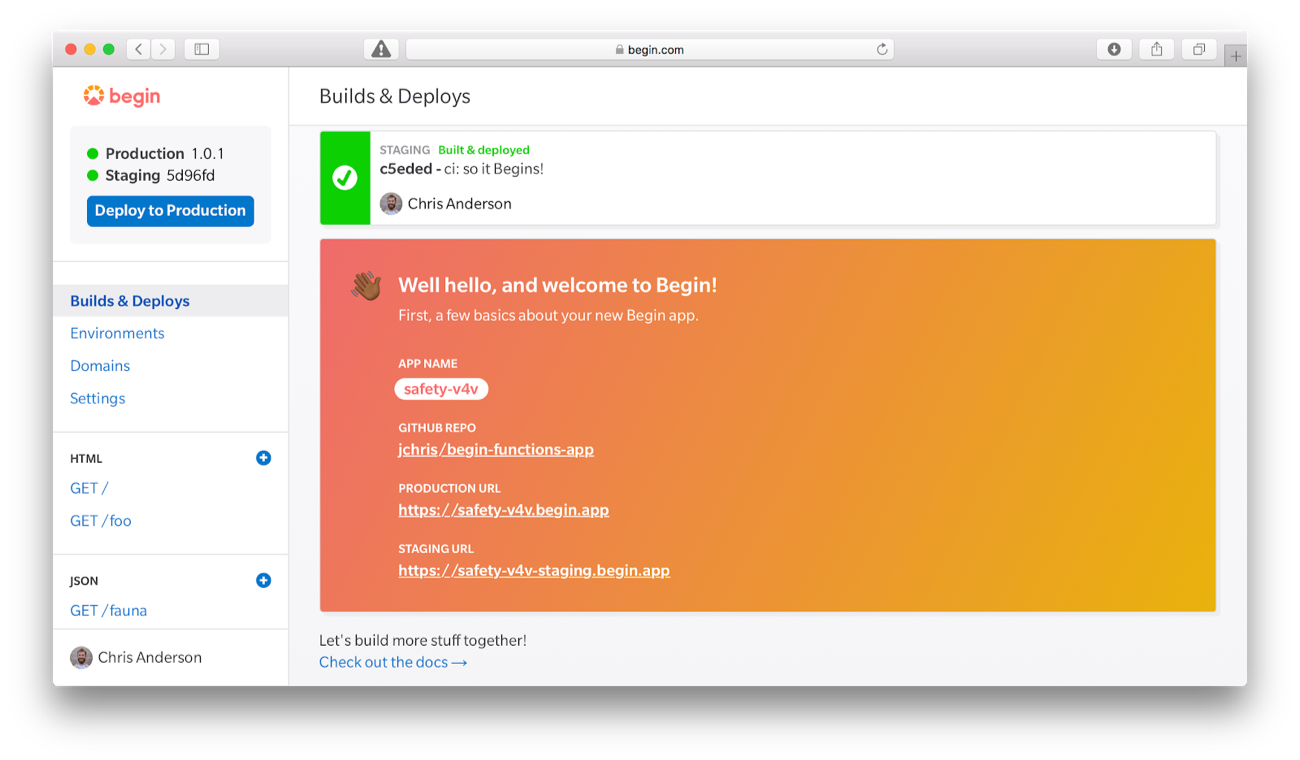
When you first create an app with Begin, you’re dropped into a combination deployment log and help wizard. I appreciate this approach as it gives new developers the hand holding they might need and experienced developers a quick way to grasp the advanced functionality.
Step 2: Generate a JSON function with Begin
By following the tutorial, you’ll end up with a few boilerplate functions in your app, and a local clone of its git repo. At this point, I created a new JSON function called fauna with the wizard, and Begin committed the boilerplate code to my repo. I pulled those changes to my workstation, ran
npm install faunadb in the subdirectory corresponding to the new function, and added a small query to the code. Begin’s code browser shows you the current version of each function; here you can see me importing the Fauna driver and creating a client object.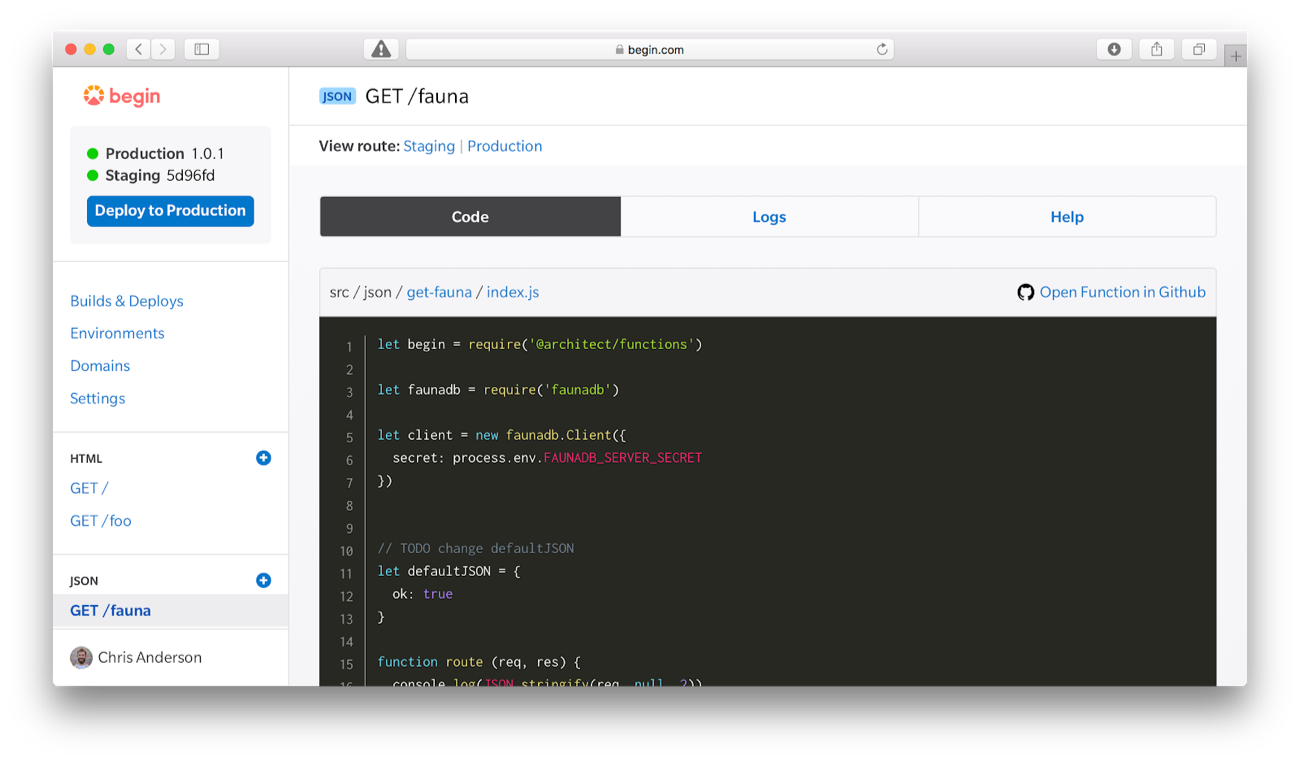
Step 3: Deploy and test changes using Begin
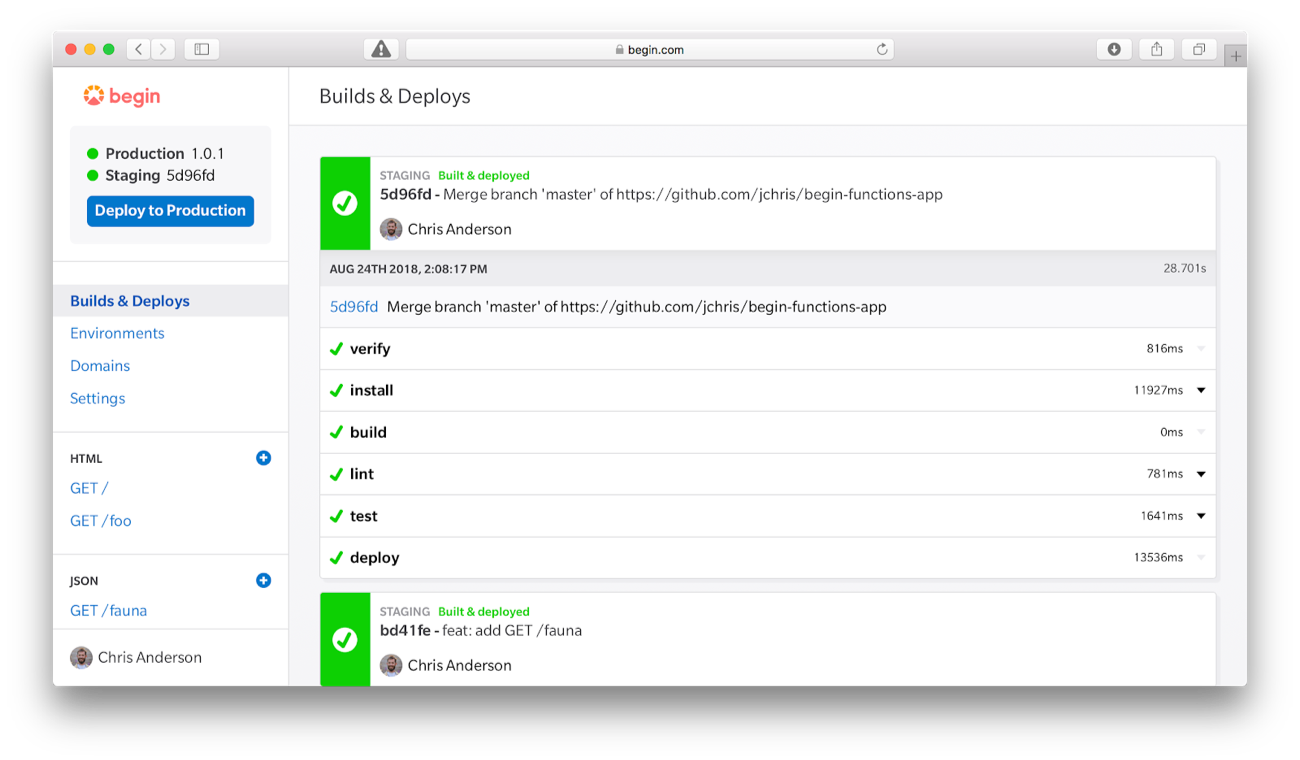
Between each change, I tested locally and pushed to master, which initiated a deploy to staging on Begin. Deploys include the output of verification, linting, testing, and all the other stages, so you can debug if needed.
Step 4: Configure Fauna connection secrets
Once I had the dependencies resolved and deploy working, I checked out Begin’s environment management features. It was simple to store my Fauna connection secret and reference it via the JavaScript
process.env API. Each environment variable can be specified for each of testing, staging, and production. I used the same Fauna server secret (now revoked) for testing and staging, but for a real app I’d probably use different databases.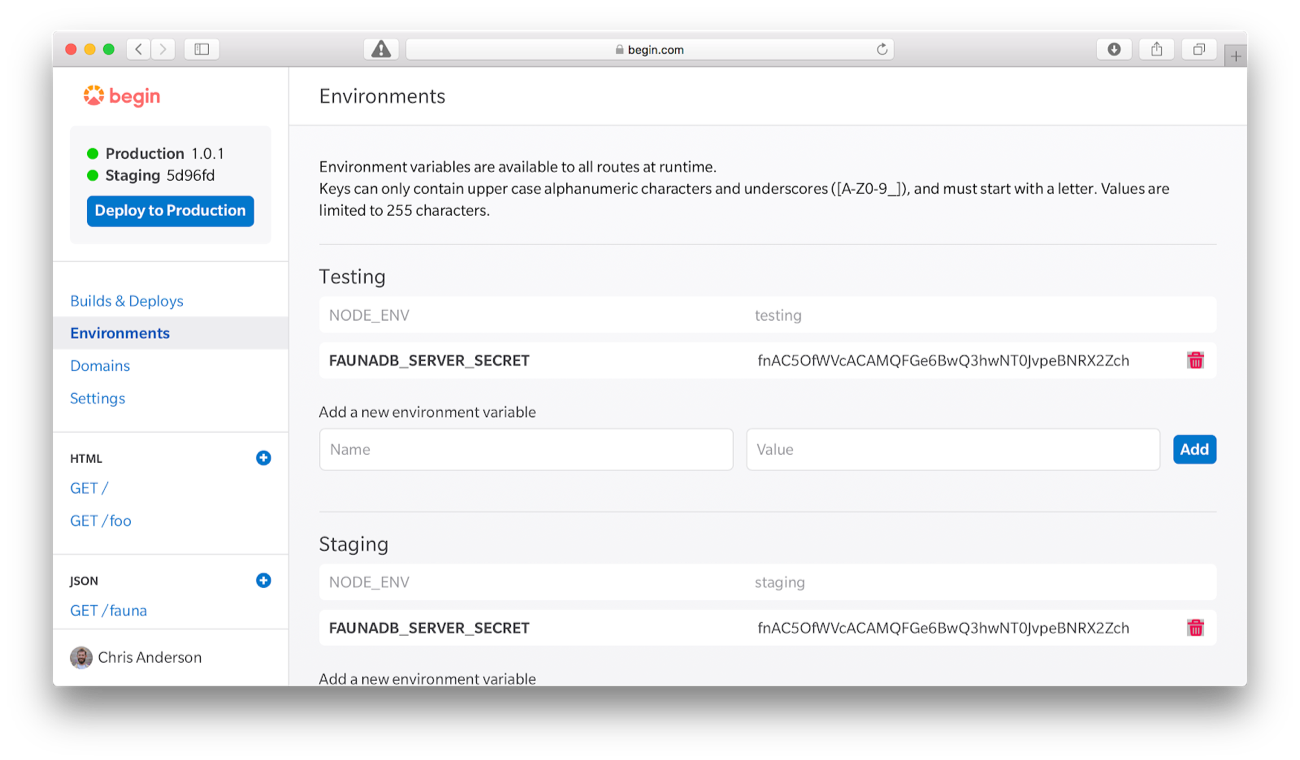
The end result is an easy to manage function deployed to AWS Lambda, with all repetition and ceremony removed. Begin also has features for other data types besides HTML and JSON, but these two are all you need to get started.
Step 5: Run your first query
Here’s the output of my first query via Begin’s function API.
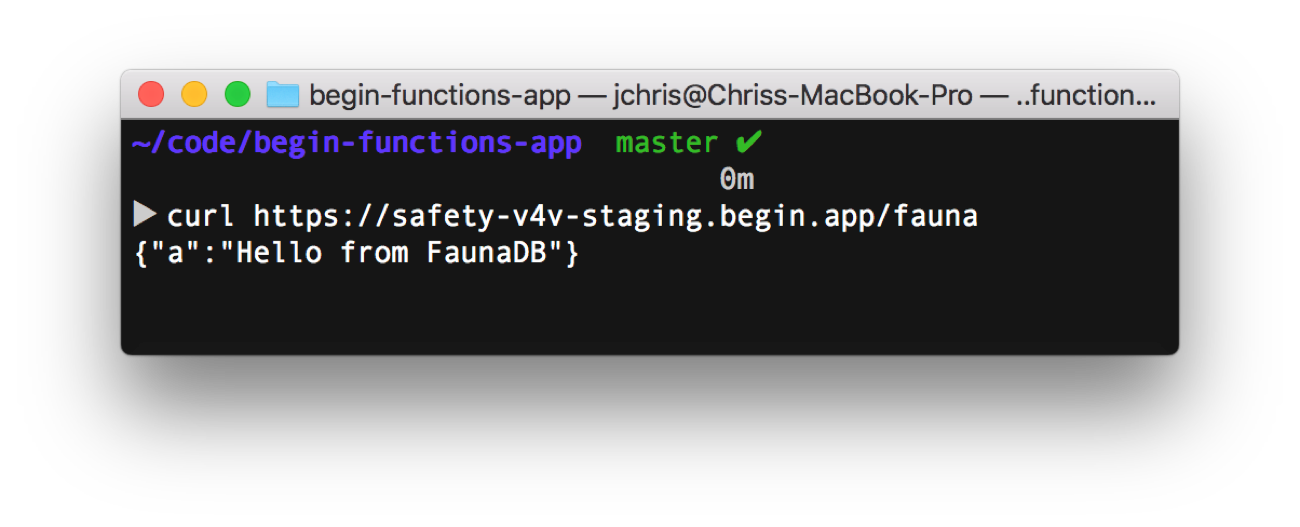
You can find my Fauna hello world code here, or follow the above instructions to get started with Begin.
If you enjoyed our blog, and want to work on systems and challenges related to globally distributed systems, serverless databases, GraphQL, and Jamstack, Fauna is hiring!
Subscribe to Fauna's newsletter
Get latest blog posts, development tips & tricks, and latest learning material delivered right to your inbox.